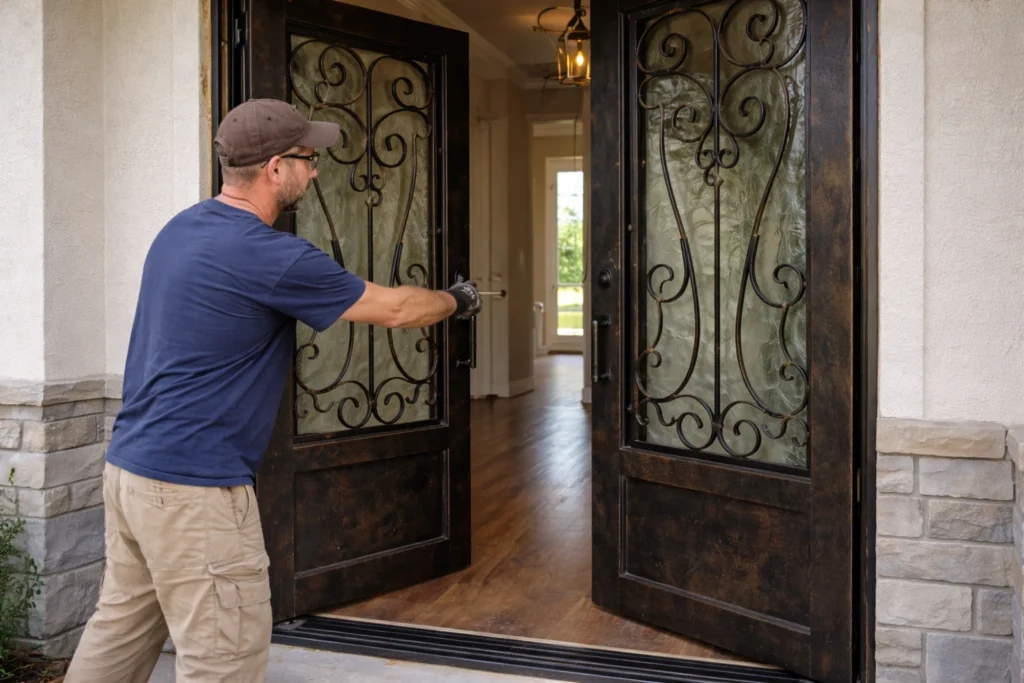
A professionally installed wrought iron door enhances both security and curb appeal in high-end homes.
Installing a wrought iron front door is one of the most impactful upgrades a homeowner can make, improving security, durability, and overall curb appeal. However, the installation process itself plays a critical role in how well the door performs over time.
Proper sealing and alignment are especially important, as the U.S. Department of Energy highlights that air sealing helps reduce energy loss and improve indoor comfort. Still, many homeowners are unsure what actually happens during installation day.
If you’re planning a new entry upgrade, you can explore our collection of custom wrought iron doors to see available styles and configurations before installation begins.
Before installation begins, understanding sizing, materials, and customization options is essential. You can explore the full breakdown in our Custom Wrought Iron Doors – Complete Guide.
What to Expect During Iron Door Installation
Iron door installation involves removing the existing door, preparing the opening, installing and securing the iron frame, mounting the door panels, and sealing the structure for long-term performance. Most professional installations take 4 to 8 hours, depending on door size and structural conditions.
Key steps in iron door installation:
Removal of the old door and inspection of the rough opening
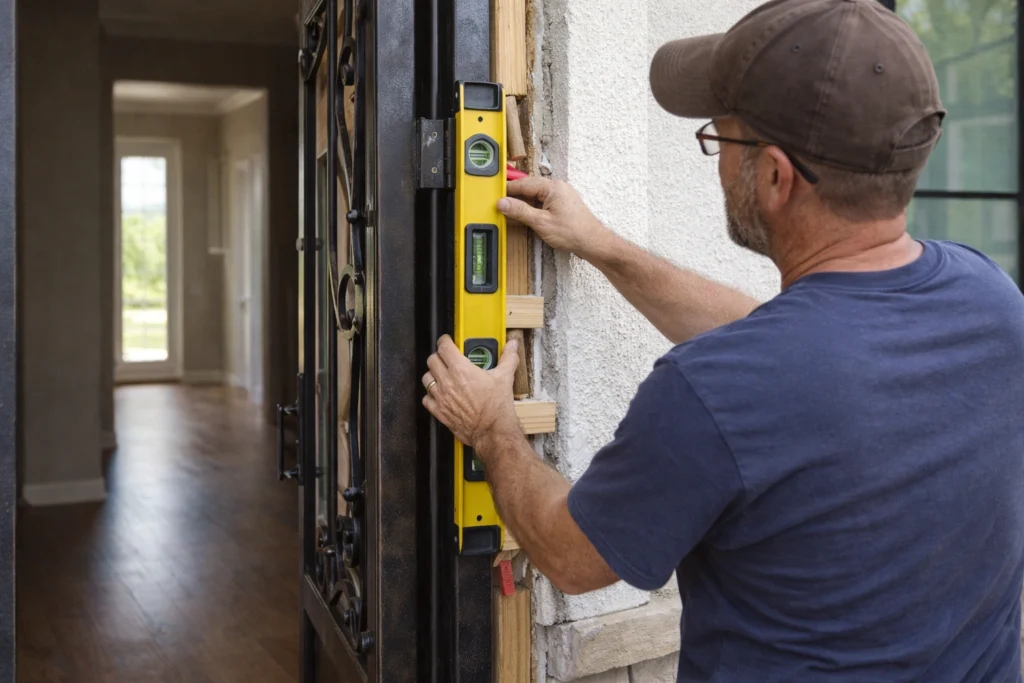
Precise leveling and positioning of the wrought iron frame
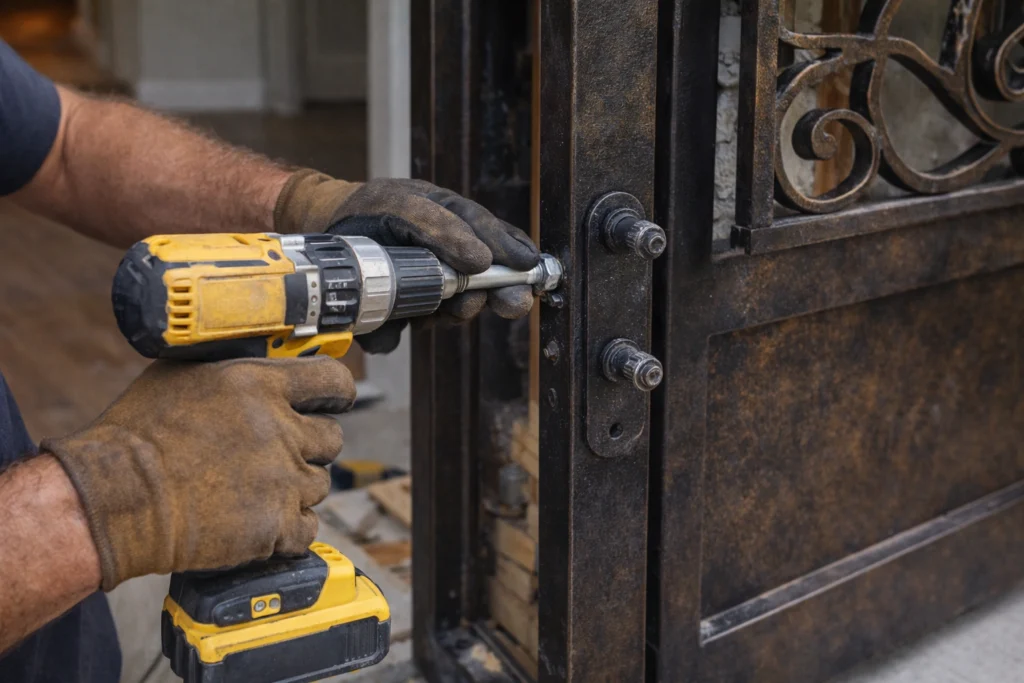
Anchoring the frame securely into the wall structure
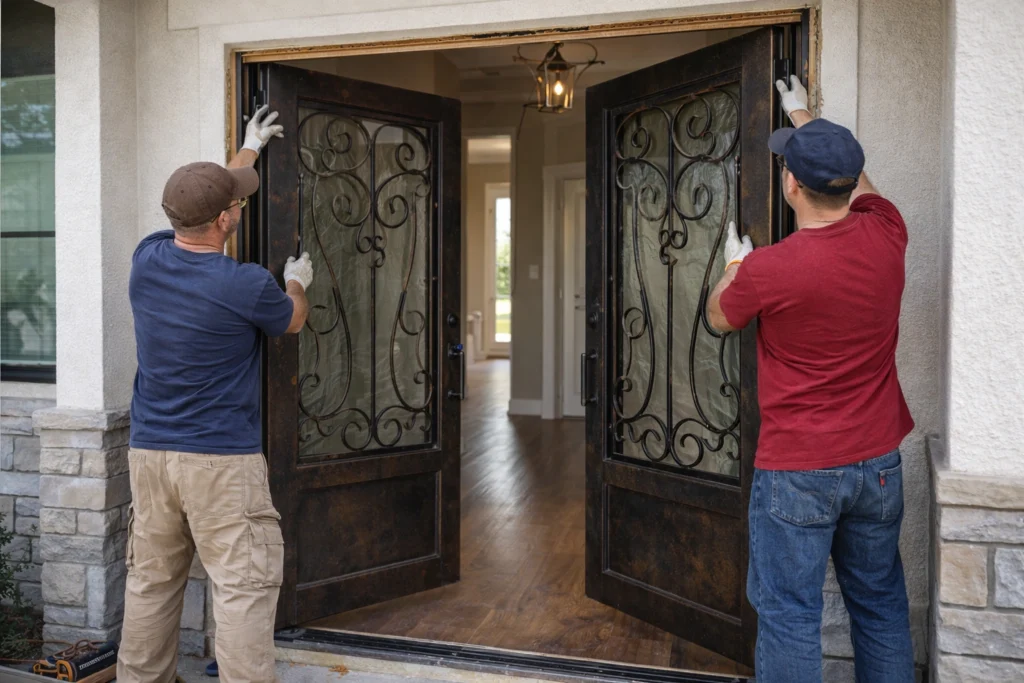
Installation of door panels and decorative glass inserts
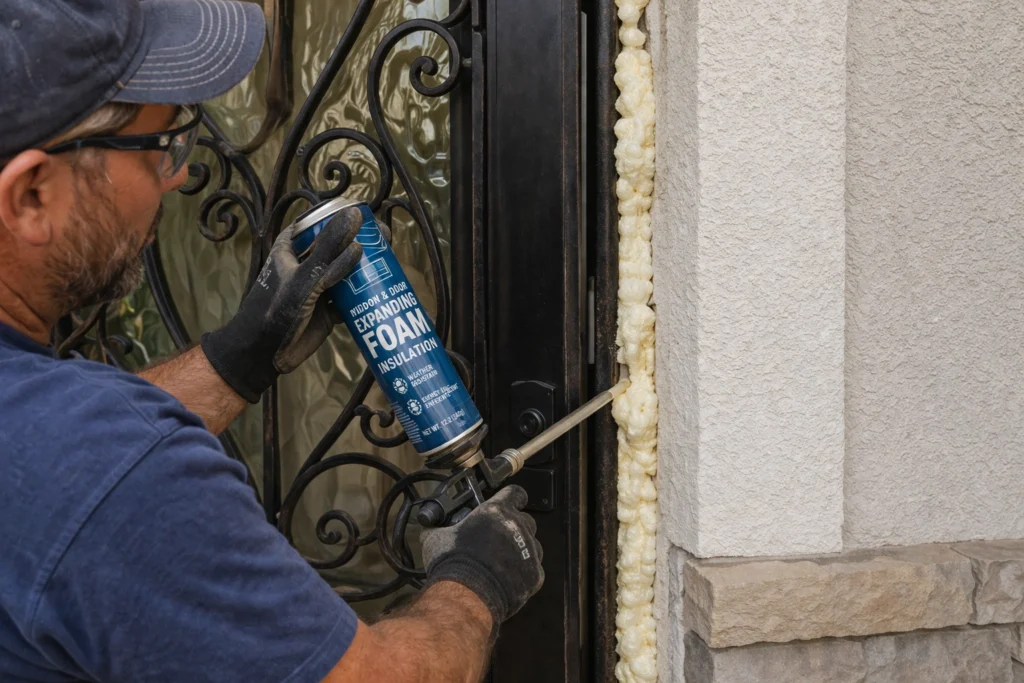
Sealing gaps with insulation and weatherproof materials
Final adjustments to ensure smooth operation and proper alignment
What homeowners should expect:
Professional installers handle heavy lifting and alignment
Minimal structural changes in most modern homes
Clean, same-day installation for standard projects
Improved security, durability, and energy efficiency after completion
Iron door installation involves removing the existing door, preparing the opening, installing and securing the iron frame, mounting the door panels, and sealing the structure to ensure long-term performance.
Key steps include:
Removing the old door and inspecting the opening
Leveling and positioning the wrought iron frame
Anchoring the frame securely into the wall
Installing door panels and glass inserts
Sealing gaps with insulation and weatherproof materials
Performing final adjustments and testing
Most installations take 4 to 8 hours, depending on door size, structure, and customization.
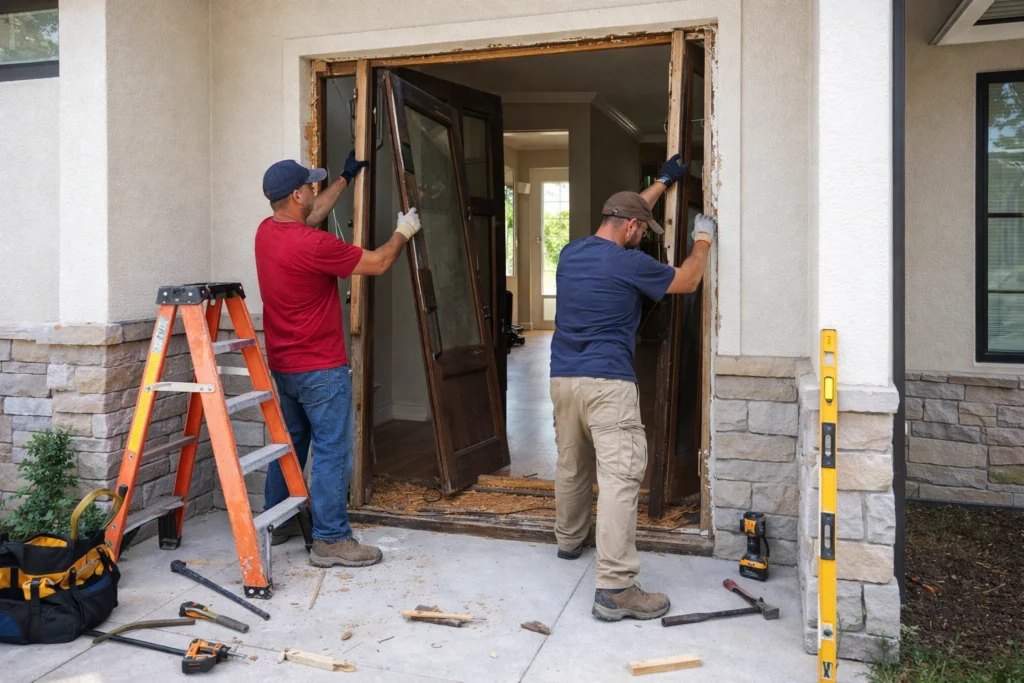
The installation process begins with removing the existing door and preparing the opening for a precise fit.
Step 1: Removing the Existing Door and Preparing the Opening
The process begins by removing the old door, hinges, and frame to expose the rough opening.
Yes, most professional installers will remove and dispose of your existing door and frame as part of the installation process, though it’s best to confirm this beforehand.
Will my home be exposed during the installation process?
Only briefly. Professional installers work efficiently to minimize exposure, and most installations are completed the same day.
How do installers ensure the iron door is level and aligned?
Installers use shims, levels, and repeated alignment checks to ensure the frame is perfectly square before securing it permanently.
What type of insulation is used around iron doors?
Expanding foam insulation is typically used to fill gaps around the frame, helping improve energy efficiency and prevent air leaks.
What happens if the opening is not perfectly square?
Installers can adjust the frame using shims and minor structural corrections to ensure proper alignment and fit.
Do iron doors come pre-assembled before installation?
Most custom wrought iron doors arrive pre-hung within their frame, which allows for faster and more precise installation on-site.
Final Thoughts
Understanding what to expect during iron door installation helps homeowners feel more confident throughout the process. From preparation and framing to sealing and final adjustments, each step plays a role in ensuring long-term performance, security, and efficiency.
A professionally installed wrought iron door not only enhances your home’s appearance but also provides lasting value for years to come.